前置准备
在此之前,我们假设您已经:
-
拥有 Java 开发环境以及相应 IDE (安装 JDK 17+、安装 Maven 3.6+)
-
熟悉 Spring Boot
java -version查看 Maven 或 Gradle 版本
mvn -vgradle -v初始化工程
新项目/工程
✨方式一:SpringBoot 式创建
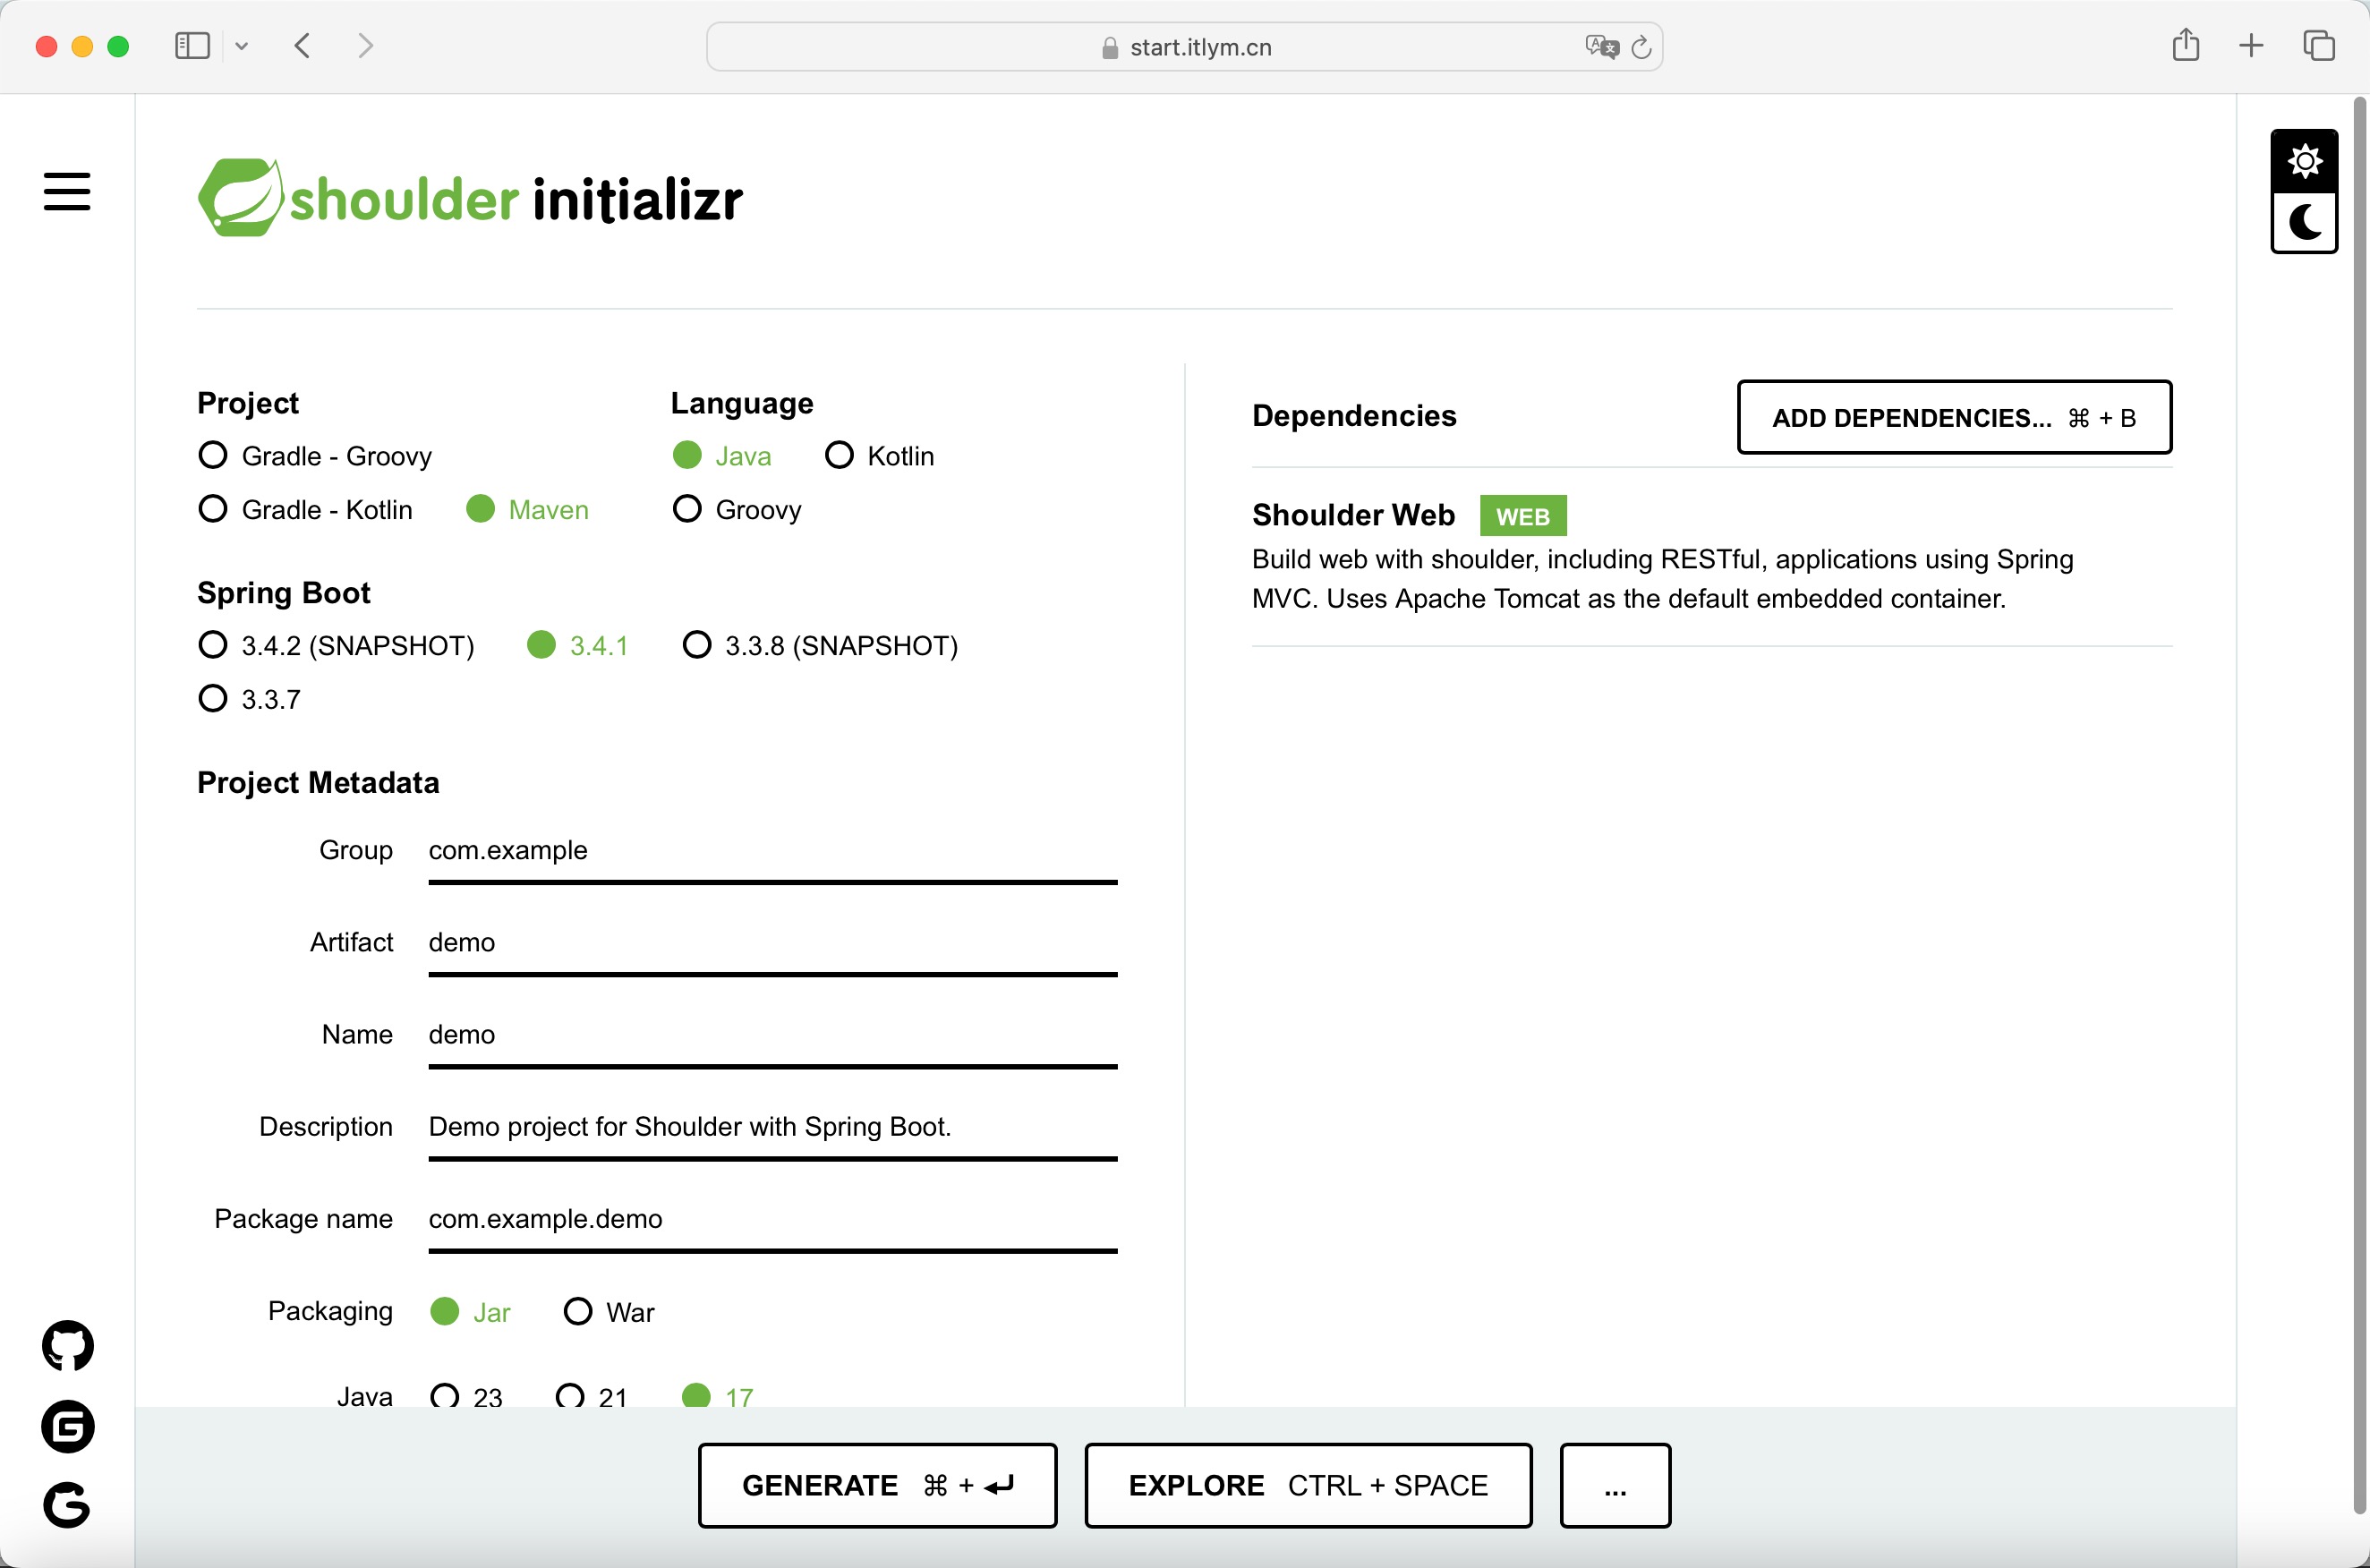
Shoulder提供了 start.itlym.cn 以便您可以像start.spring.io一样使用。无论是直接访问网页创建、预览、下载工程,还是在您的IDE中使用。
详细使用方式可参照 start.spring.io 在 GITHUB 的使用说明,只需要把其中的 url 改为 start.itlym.cn 即可。
|
在线创建
IDE 中创建
支持的 IDE 有:
-
Eclipse/STS -
IntelliJ
IDEA(Ultimate Edition) -
NetBeans, using the NB SpringBoot plugin) -
Microsoft
VSCode, using the Spring Initializr Java Support.
使用 Spring Boot CLI 创建
| 若您倾向于采用此创建方式,说明您已经 安装 Spring Boot CLI,并了解 Spring Boot CLI使用的方式。 |
与 Spring 官网教程唯一区别是,您需要在所有的命令中显示声明依赖的网站,命令中加入后缀 --target https://start.itlym.cn,使用举例:
# 查看所有可用项
$ spring init --list --target https://start.itlym.cn

# 通过默认参数创建
$ spring init --target https://start.itlym.cn

# 创建一个带有 web 的 my-app.zip:
$ spring init -d=web my-app.zip --target https://start.itlym.cn

To 创建一个带有 web、data-jpa 的 gradle 项目目录:
$ spring init -d=web,jpa --build=gradle my-dir --target https://start.itlym.cn
使用 cURL/HTTPie 创建
# 查看更丰富的可用项介绍
curl https://start.spring.io
# 创建并下载
curl https://start.itlym.io/starter.zip -d dependencies=web,devtools \
-d bootVersion=3.3.7 -o my-project.zip# 查看更丰富的可用项介绍
http https://start.spring.io
# 创建并下载
http https://start.spring.io/starter.zip dependencies==web,devtools \
bootVersion==3.3.7 -d✨方式二:一条命令创建
可以运行以下命令快速创建一个 Shoulder 工程,Shoulder 将自动管理其依赖版本,同时已为您创建好目录结构。
|
mvn archetype:generate \
  -DarchetypeGroupId=cn.itlym \
  -DarchetypeArtifactId=shoulder-archetype-simple \
  -DarchetypeVersion=1.1.1 \
  -DgroupId=com.yourcompany \
  -DartifactId=yourappName \
  -Dversion=1.0-SNAPSHOT
方式三:手动创建
INFO: 这种方式创建需要您熟悉或创建锅 maven 工程。
<?xml version="1.0" encoding="UTF-8"?>
<project xmlns="http://maven.apache.org/POM/4.0.0" xmlns:xsi="http://www.w3.org/2001/XMLSchema-instance"
         xsi:schemaLocation="http://maven.apache.org/POM/4.0.0 https://maven.apache.org/xsd/maven-4.0.0.xsd">
    <modelVersion>4.0.0</modelVersion>

	<groupId>com.example</groupId><!-- 您的 groupId -->
	<artifactId>myproject</artifactId><!-- 您的 artifactId -->
	<version>0.0.1-SNAPSHOT</version><!-- 您的 version -->

    <!-- 继承 shoulder 提供的父工程,自动管理版本号,包含了 spring-boot-parent -->
    <parent>
        <groupId>cn.itlym</groupId>
        <artifactId>shoulder-parent</artifactId>
        <version>1.1.1</version><!-- shoulder-version -->
    </parent>
    <dependencies>
        <!-- 版本号、web 相关依赖 自动管理。已自动引入对应的 spring-boot-starter-web -->
        <dependency>
            <groupId>cn.itlym</groupId>
            <artifactId>shoulder-starter-web</artifactId>
        </dependency>

    </dependencies>

    <!-- Additional lines to be added here... -->

</project># TODO coming soon
plugins {
id 'java'
id 'org.springframework.boot' version '3.4.1'
}
apply plugin: 'io.spring.dependency-management'
group = 'com.example'
version = '0.0.1-SNAPSHOT'
sourceCompatibility = '17'
repositories {
mavenCentral()
}
dependencies {
}在已有的 Spring Boot 项目中使用
如您已创建好 Spring-Boot 3.x 工程,您只需要在 pom.xml 中加入以下内容,即可享受 shoulder-web 带来的增强的啦。
<dependency>
    <groupId>cn.itlym</groupId>
    <artifactId>shoulder-starter-web</artifactId>
    <version>1.1.1<version>
</dependency>compile 'cn.itlym:shoulder-starter-web:1.1.1'
|
| 推荐:在 pom.xml 中加入 dependenciesManager 标签,就不用写 shoulder 相关依赖的版本号啦。 |
      <dependencyManagement>
        <dependencies>
          <dependency>
            <groupId>cn.itlym.shoulder</groupId>
            <artifactId>shoulder-dependencies</artifactId>
            <version>1.1.1</version>
            <type>pom</type>
            <scope>import</scope>
          </dependency>
        </dependencies>
      </dependencyManagement>
    <dependencies>

    <dependency>
        <groupId>cn.itlym</groupId>
        <artifactId>shoulder-starter-web</artifactId>
        <!-- 就像 spring boot starter-xxx,不需要写版本号啦 -->
    </dependency>

</dependencies>编码
您可以尝试将以下内容复制进您的工程并运行查看。
@RestController
@RequestMapping("rest")
public class MyRestController {
@GetMapping("hello")
public String hello() {
return "shoulder";
}
}
@RestController
@RequestMapping("rest")
class MyRestController {
@GetMapping("hello")
fun hello(): String {
return "shoulder"
}
}
小结
通过简单几下操作,我们就实现了 Shoulder 的启动,甚至一行配置都不需要!
集成 Shoulder 非常的简单,只需要引入依赖即可使用!
但 Shoulder 的强大远不止这些功能,想要详细了解 Shoulder 的强大功能?那就继续往下看吧!
跟着 Demo 快速认识强大的 Shoulder。
|